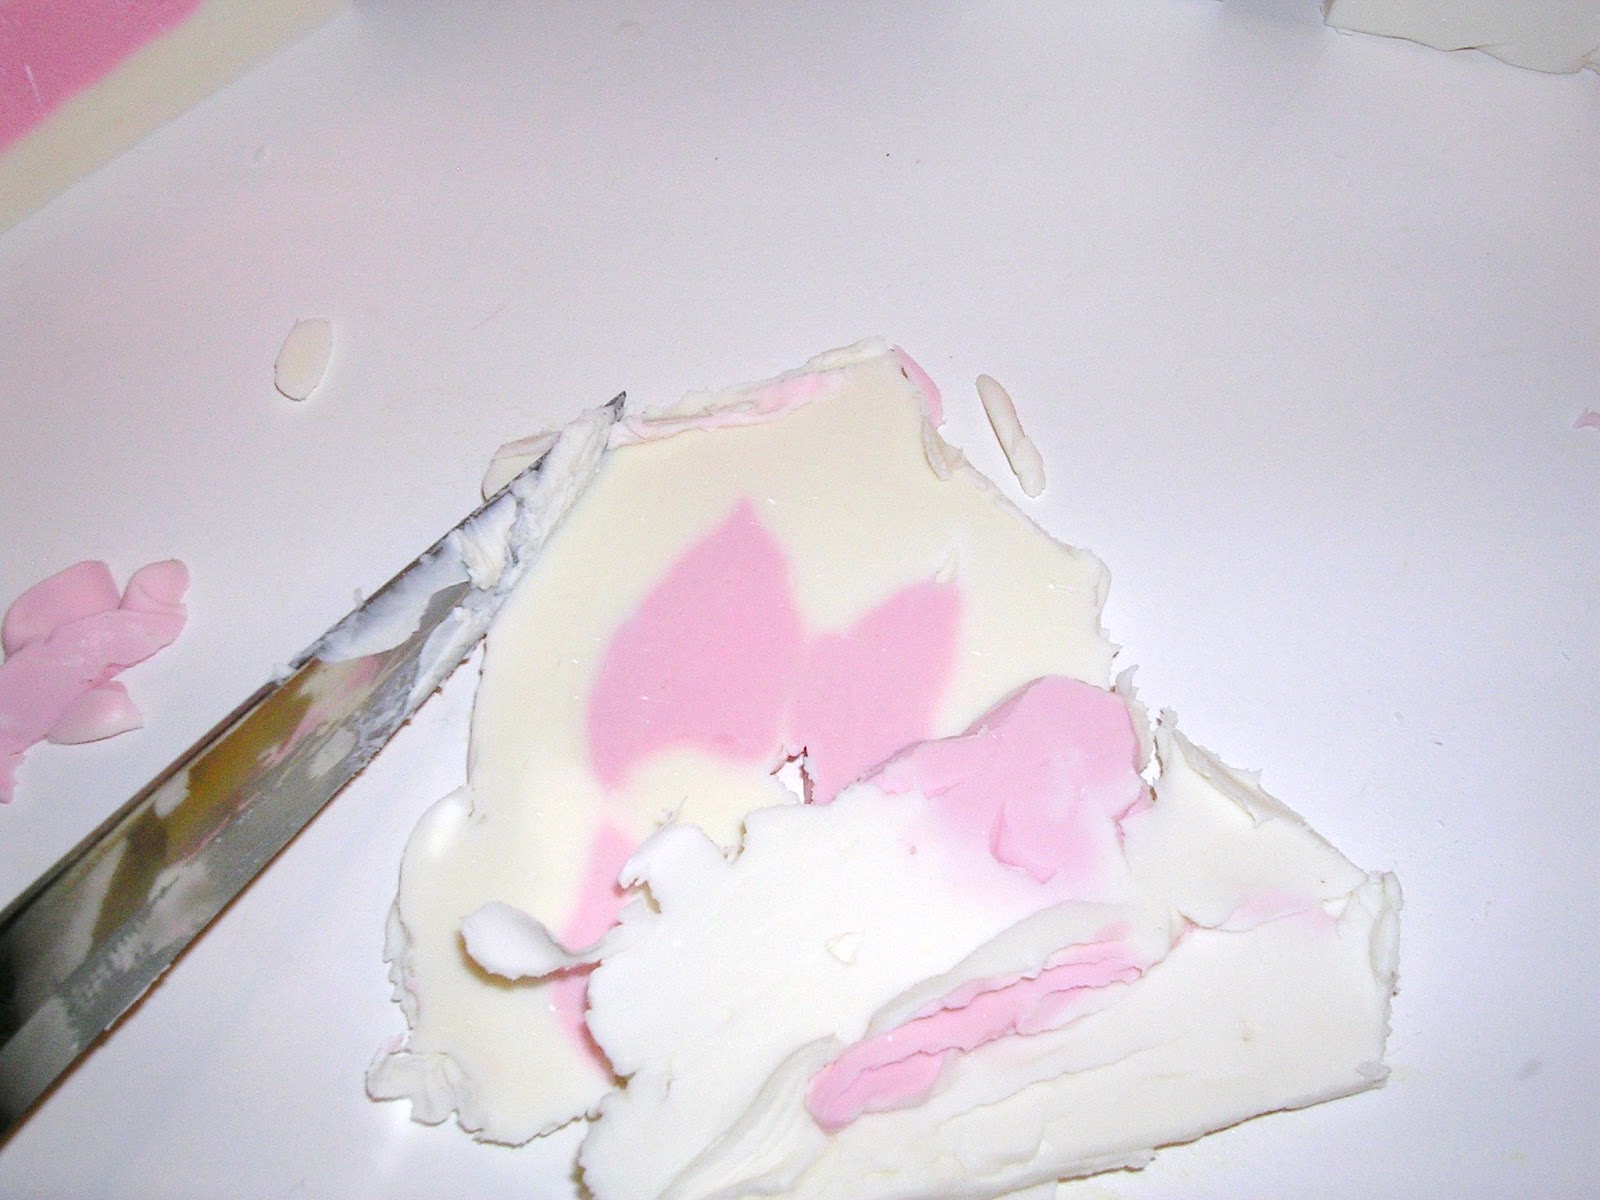
Here it is! Not as difficult as I expected nor was the end result as I expected. Since I had only ordered enough ingredients to make 1 full batch (10 pounds) of soap, I decided to make half of 2 different recipes. I chose a high suds clear and a white base. I made the high suds first and was disappointed when the end result was light yellow instead of clear, as I had expected.
As you can see, it is nice and clear, but, it's yellow! I don't know if that is how it was supposed to turn out of if I did something incorrectly. I followed the directions precisely. There are no oils in the recipe, so, I can't blame it on that. The soap is sitting, hardening as I write. I will give it a try a bit later today and post pics of the end result.
I moved on the the white base, which was very similar to the clear, high suds, with the addition of Titanium Dioxide.
At the suggestion of the author of the book, I added two extra ingredients after the heating process was completed, to ensure a nice hard bar. Well, that was a mistake. The soap hardens too quickly and will be difficult to use creatively in certain situations. Having said that, of course I will be giving it a try as soon as it hardens, and will post the results.
Since the available information pertaining to the creation of one's own melt and pour soap bases is limited, I plan to do some serious tweaking of the recipes I have and make that information available to the public. Stay tuned!
Tuesday, July 17, 2012
Monday, July 16, 2012
Expecting Ingredients Today
Finally, my shipment of ingredients should arrive today; after I have left for work, of course!!!
I do still work a full time day job (RN), but am working hard at new products, marketing and looking into opening a retail store. As God provides and things fall into place, I will be able to work full time making and selling my products and will be able to leave my day job behind.
Creating my own melt and pour soap base is taking a huge step in making my products truly my own. I am very excited about having the power to control what is in my glycerin soaps, the same as I am for the other products I make. Stay tuned for updates coming soon!
I do still work a full time day job (RN), but am working hard at new products, marketing and looking into opening a retail store. As God provides and things fall into place, I will be able to work full time making and selling my products and will be able to leave my day job behind.
Creating my own melt and pour soap base is taking a huge step in making my products truly my own. I am very excited about having the power to control what is in my glycerin soaps, the same as I am for the other products I make. Stay tuned for updates coming soon!
All Natural Products
With many customers preferring all natural products, finding a natural substitute for synthetic ingredients can be challenging. Unfortunately, with the enormous amount of information available on the internet, it is just as easy to become MIS-informed as it is INformed. Things are blown out of proportion, correct information distorted, things taken out of context and false information passed along as set in stone truth. Some mis-information is intentionally spread by malicious individuals to negatively impact the ever growning small business community, particularly with regard to handmade bath, body and beauty products.
Launching an all natural product line is on my radar but still in the formulation phase. I hope to present it later this year.
Thursday, July 5, 2012
Branching Out
Over the course of my many years of making soap I have worked primarily with Cold Process Soap. I have created many different recipes and used endless combinations of oils and butters. I have managed to become increasingly creative in my designs and have many more ideas and designs in the works.
I also love melt and pour soaps because the creativity is endless. Mistakes are easily corrected by simply melting the soap and starting over. To date, I have used pre-made bases. After doing considerable research, I have decided to start making my own melt and pour base. Doing so will allow me to use only the ingredients I want in my soap and to create a more skin friendly product. I have ordered the necessary ingredients and should have them in time to give this a whirl the end of next week when I have a couple of days off from my day job. I will post my adventures, pics and updates.
Wednesday, June 27, 2012
Recent Soap Projects
I love making soaps freehand. No, they aren't as perfect as soaps made with molds, but, I simply enjoy the art of making a truly unique, one of a kind design. Here are a few of my recent projects.
This is a full loaf of soap. It was challenging to make it so every slice would be the same. This is scented with Hansel and Gretel's House Fragrance Oil which is a delightful Gingerbread fragrance. Not a sharp gingerbread but a very smooth, mellow gingerbread fragrance. I love it so much I made a second house with it.
This is the first Gingerbread House sliced.
My second Gingerbread House Soap, also scented with the Hansel and Gretel's House fragrance oil.
Here it is sliced. I went back and added the yellow trim at the top to each slice. Didn't get a picture of all of them together tho.
This one was really tricky because it is difficult to get each of the embeds sized correctly. For anyone who works with melt and pour soap, you know thin or small details in a design are prone to melting when hot soap is poured around it. The vase in this soap is larger than I wanted and the mirror added a good bit of height, resulting in a larger soap than I anticipated.
Here is the Fireplace soap sliced. This is scented with Twilight in the Woods Fragrance Oil.
This design really drove me nuts. I had to cut each component seperately and then "glue" them together with soap. As you can see, it turned out a bit crooked and off center. It is supposed to be a lava lamp, for those who are trying to figure out what in the world it is. It is scented with Sands of Morocco Fragrance Oil.
Sunday, June 3, 2012
How to Groom Soap
Every soap maker has made soap that had flaws. The most common one is air pockets. This problem is easily corrected if you tend to the problem as soon as the soap is removed from the mold. When first removed from the mold, the soap is obviously firm, but, is still malleable. I will post pictures of how to fill in air pockets. This process must be done immediately upon removing soap from the mold, before the soap begins to dry. Otherwise, the soap patching will not adhere. Feel free to post any questions you might have.
Soap with air pockets
End piece from loaf of soap
Cut small amount of soap from end piece
Press into air pocket
press firmly
Smooth with knife
keep smoothing with steady pressure
Leave soap to harden, then trim irregularities
Tuesday, May 29, 2012
Melt and Pour Soap
It has been a while since I posted. I have been very busy making soaps. The past week or so I have been playing around with melt and pour. I love being unique and creative. I only use molds when absolutely necessary, prefering to freehand my designs, to make sure they are original and unique. I will post a few pics.
Denim Fragrance Oil
Hot Pink Lime Fragrance Oil
Just Peachy Fragrance Oil
Strawberries & Champagne Fragrance Oil
Subscribe to:
Posts (Atom)